


本記事では、MAMPでWordPressの開発環境を作る手順について解説しています。
- サイト運営に必須のことが学べる
- 基本的な使い方~オリジナルテーマ開発まで学べる

 先輩くん
先輩くんAmazon Kindle Unlimitedに登録すると、月額980円で読み放題だからオススメだよ!
初回30日間は無料だから、まだ登録したことのない人はぜひ試してみてね!

- PHPの基本構文からクラス・データベース連携・セキュリティまで学べる
- PHPによるWebアプリ開発の基礎・基本テクニックを学べる

MAMPのインストーラーをダウンロード
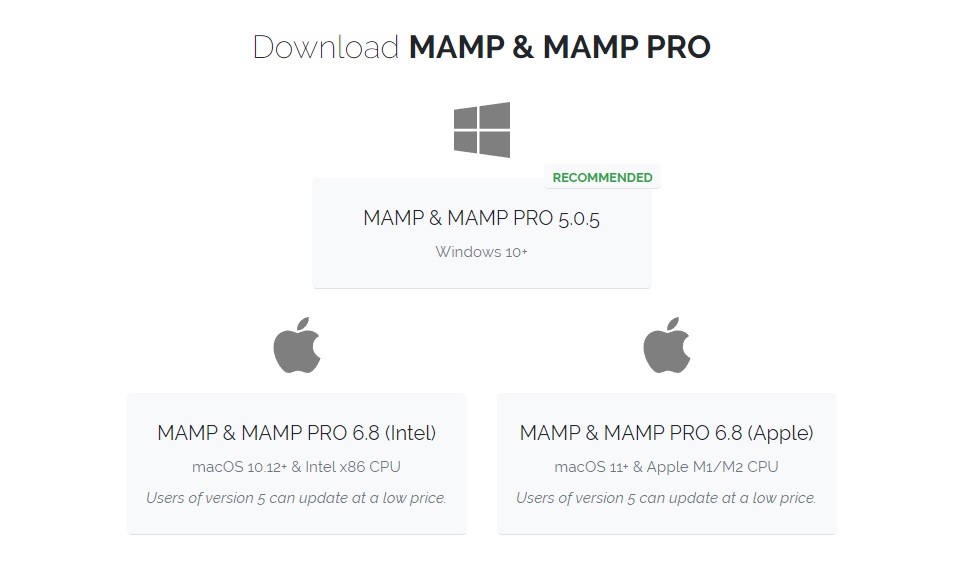
MAMPのインストーラーをダウンロードするページにアクセスします。自分の端末に合った、インストーラーをダウンロードしてください。
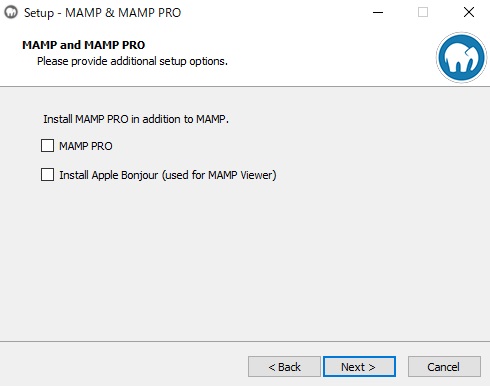
ダウンロードが終了したら、インストーラーを起動します。MAMP PROとApple Bonjourは不要なのでチェックを外し次に進みます。
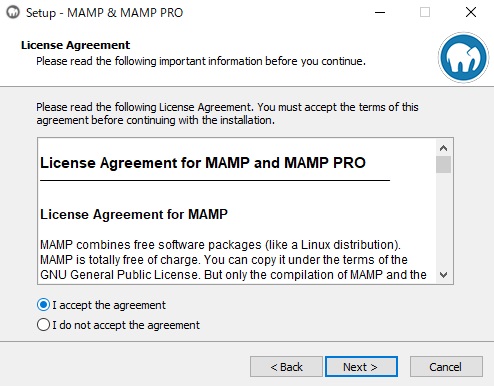
使用許諾契約に同意する必要があるため「I accept the agreement」にチェックを入れ次に進みます。
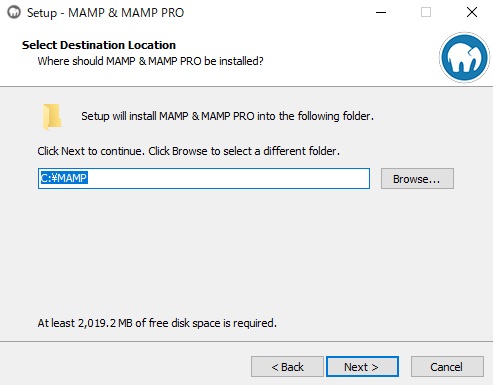
MAMPをインストールするディレクトリを指定します。デフォルトのままで問題ないので次に進みます。
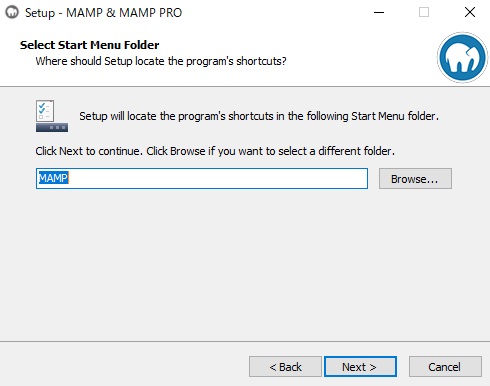
スタートメニューにMAMPのショートカットを追加するかの確認です。デフォルトのままで問題ないので次に進みます。
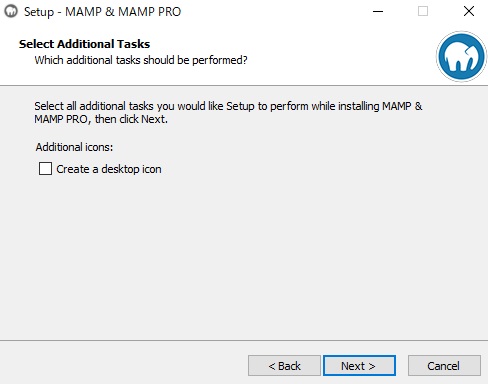
デスクトップアイコンにMAMPのショートカットを追加するかの確認です。不必要な人はチェックを外して次に進みます。
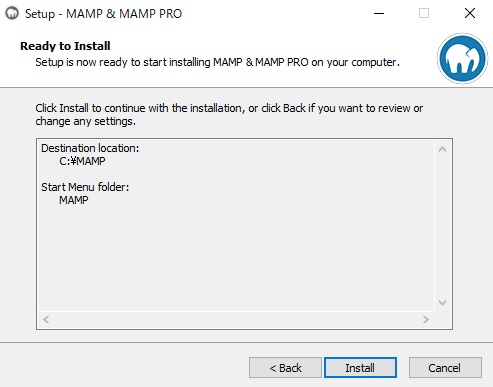
インストールをクリックして次に進みます。
 先輩くん
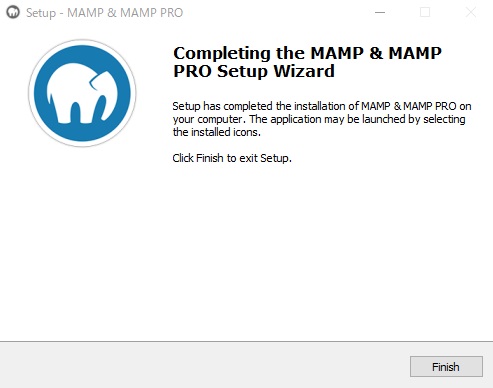
先輩くんこれでMAMPのインストールが完了だよ。
WordPressのインストール
MAMPのインストールが完了したら、WordPressをダウンロードします。
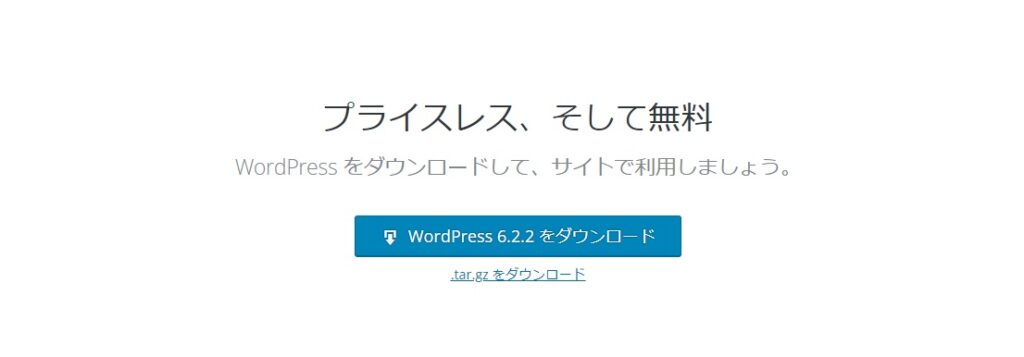
WordPressをダウンロードするページにアクセスします。ページ中央部付近にダウンロードボタンがあるので、それをクリックするとダウンロードされます。
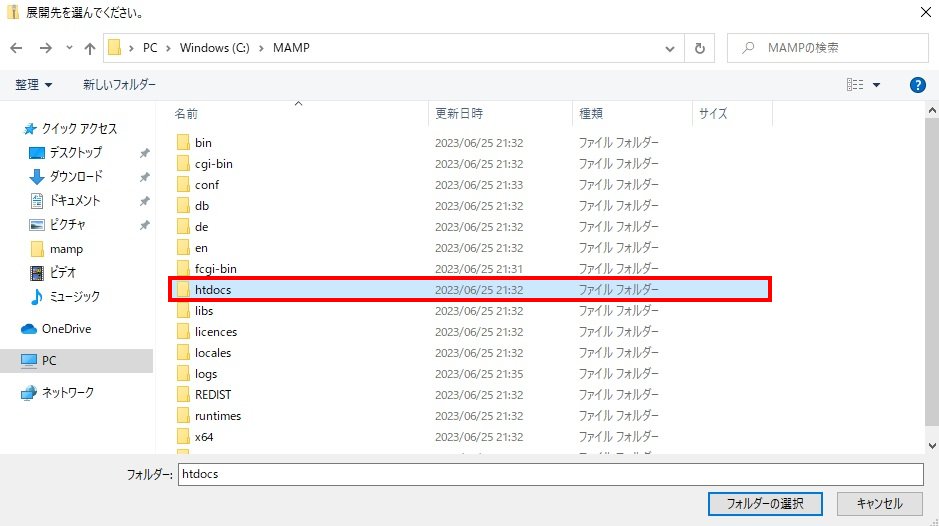
ダウンロードされたフォルダは、圧縮されているため解凍しMAMPディレクトリのhtdocs配下に配置します。
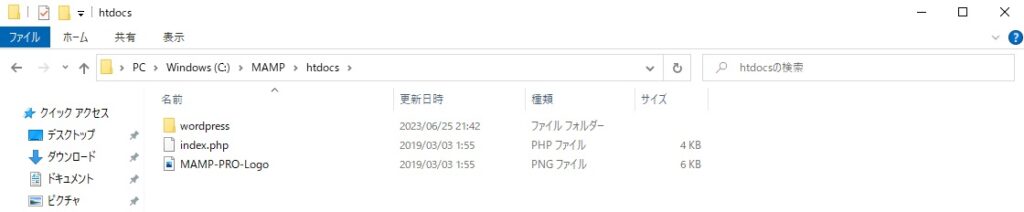
htdocsの中がこのようになっていればOKです。index.phpとMAMP-PRO-Logo.pngは、MAMPをインストールしたタイミングで自動生成されるファイルです。
先輩くんこれでWordPressのダウンロード~配置までが完了だよ。
MAMPの起動
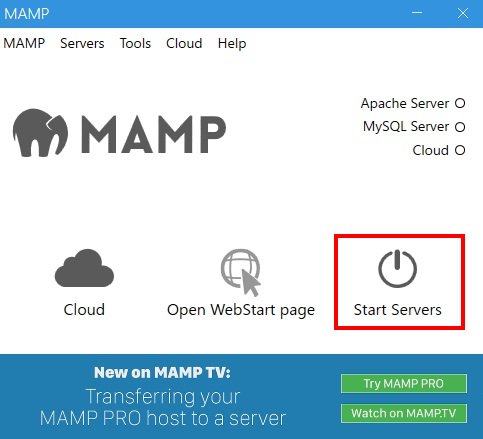
最初にインストールしたMAMPを開き、Start Serversをクリックします。
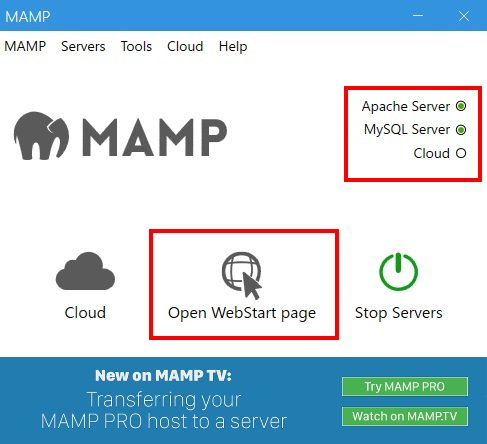
「Apache Server」「MySQL Server」の2つが立ち上がったことを確認し、Open WebStart pageをクリックします。
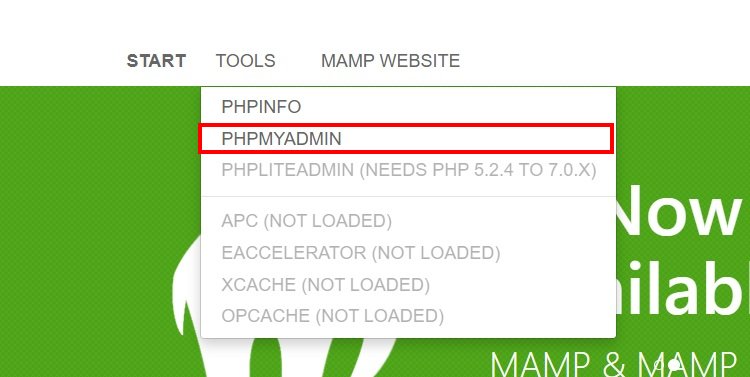
「http://localhost/MAMP/」のページが開かれます。ナビゲーションメニューのTOOLSを選択し、PHPMYADMINをクリックします。

このページでは空のデータベースを1つ作成します。任意のデータベース名を付けCreateをクリックします。

続いて「http://localhost/wordpress」のページアクセスします。WordPressへようこそ。と画面が表示されるので「さあ、始めましょう!」をクリックします。

入力内容は以下を参考にしてください。
- データベース名:先ほど作成したデータベース名を指定。
- ユーザー名:デフォルトのユーザー名は「root」です。
- パスワード:デフォルトのパスワードは「root」です。
- データベースのホスト名:そのまま
- テーブル接頭辞:そのまま

データベースとの接続が完了したら、インストール実行をクリックします。
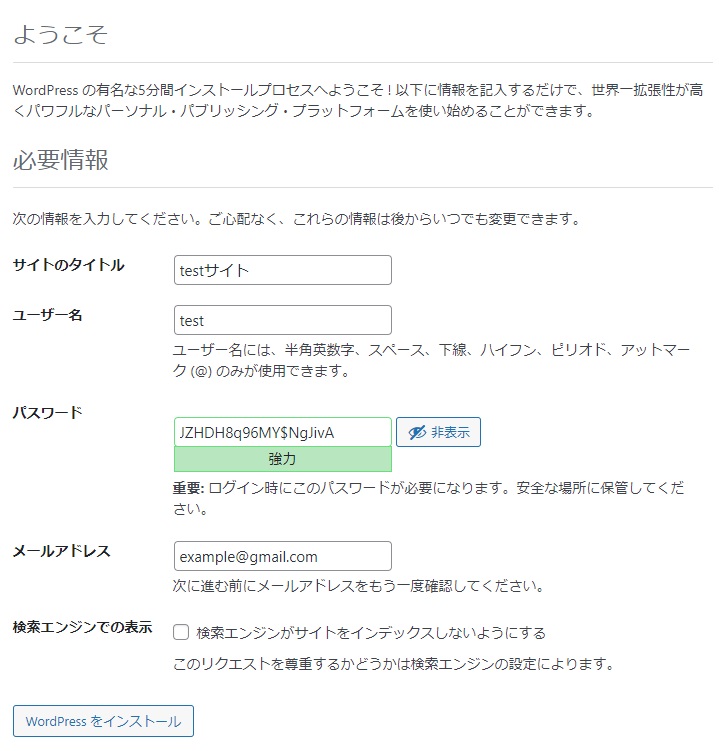
サイトのタイトルやユーザー名を各自設定し、WordPressをインストールをクリックします。
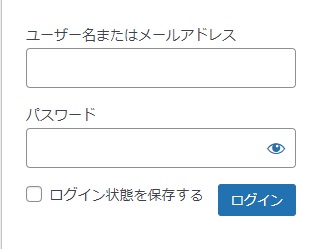
先ほど設定したユーザー名とパスワードを使用してログインします。
 先輩くん
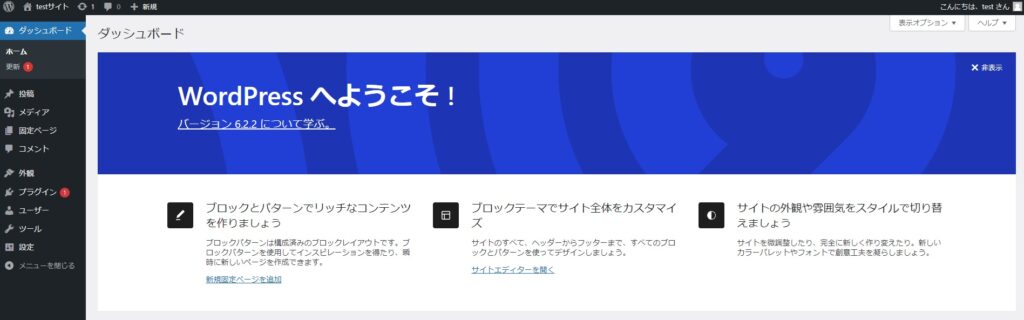
先輩くんWordPressの管理画面にアクセスできればWordPressの開発環境の設定は完了だよ。お疲れ様でした。