


こちらの記事では、WindowsにGraphicsMagickをインストールする方法についてまとめています。
画像付きで分かりやすく解説しているので、GraphicsMagickのインストール方法が分からない方はぜひ参考にしてください。

- 今月出版されたNode.js超入門 第3版の改訂版
- 最新のNode.jsを学ぶことができる

 先輩くん
先輩くんAmazon Kindle Unlimitedに登録すると、月額980円で読み放題だからオススメだよ!
初回30日間は無料だから、まだ登録したことのない人はぜひ試してみてね!
変数名/関数名にもう悩まない!

- 美しいコードが書けるが自然と書けるようになる
- 他の開発者が理解しやすいコードになる

GraphicsMagickインストール手順
まず始めに、こちらのGraphicsMagick公式ページにアクセスします。
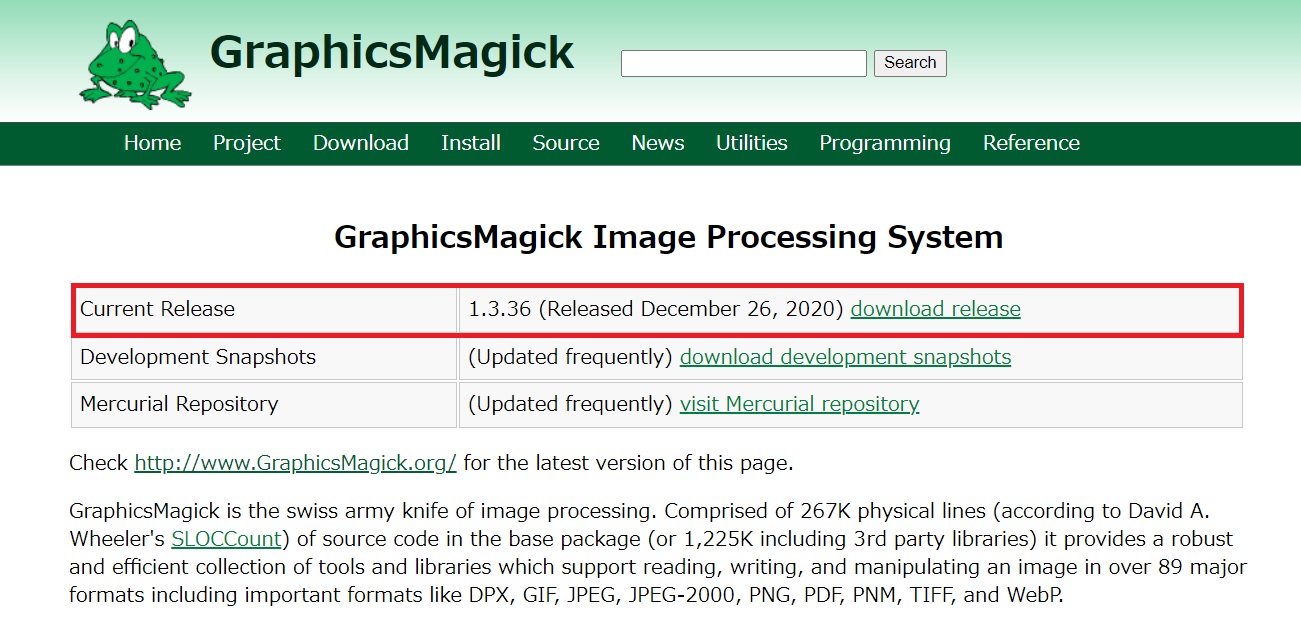
上記画像の赤線で囲われているdownload releaseをクリックします。
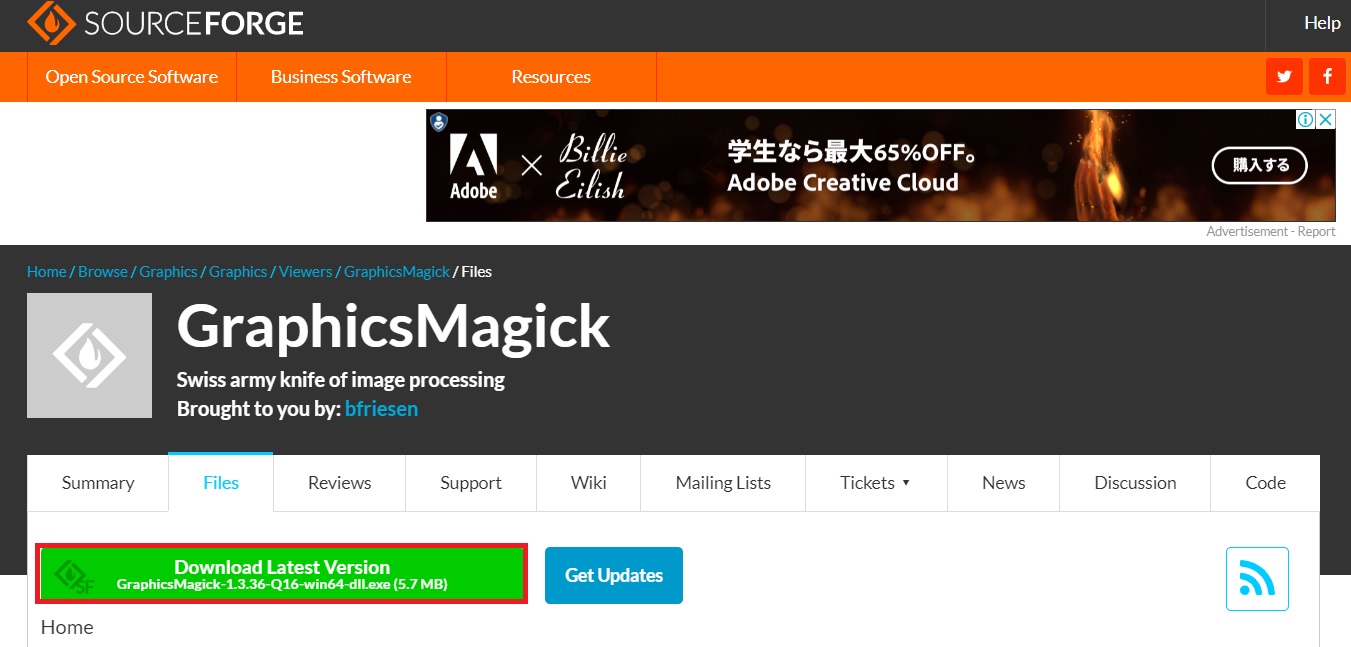
GraphicsMagickのファイルがダウンロードできるページに移動するので、Download Latest Versionをクリックします。
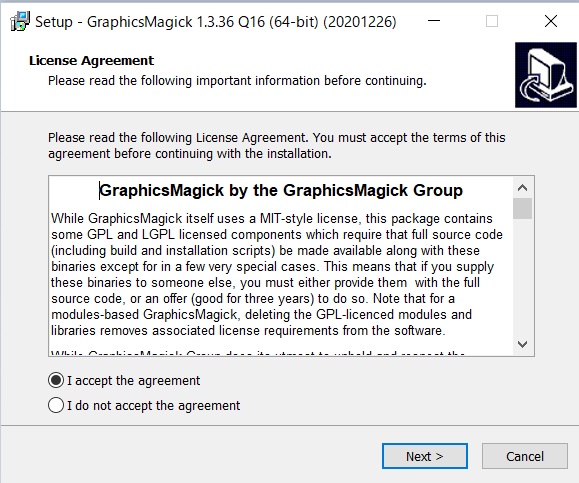
ダウンロードしたファイルを開くとLicense Agreement(ライセンス契約)が表示されるので、I accept the agreement(ライセンス契約に同意する)を選択しNextをクリックします。
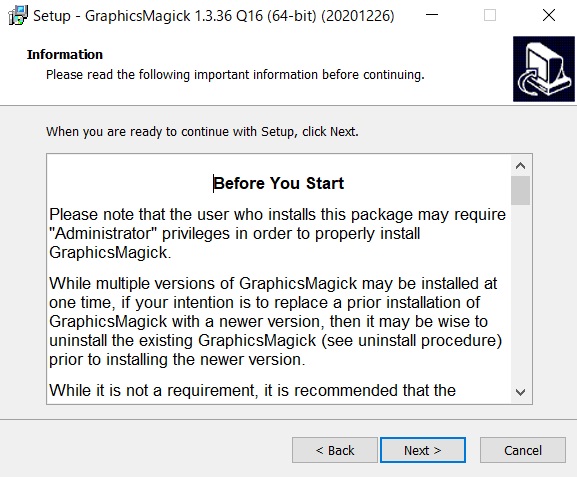
続いてInformation画面が表示されます。Nextをクリックして次に進みます。
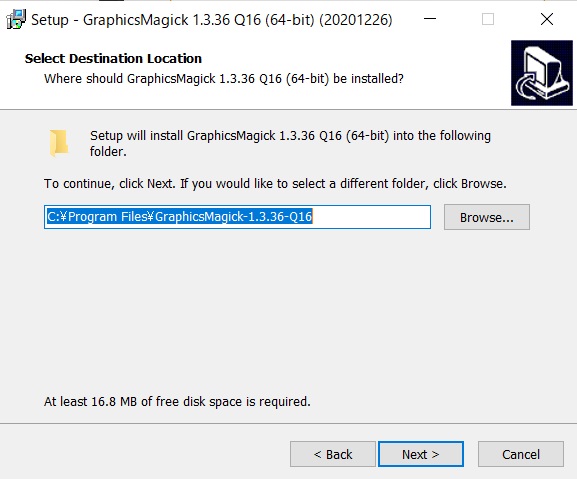
続いてSelect Destination Location画面が表示されます。GraphicsMagickのフォルダを作成する位置を選択します。
基本的にはデフォルトのままで問題ないですが、違う場所にフォルダを置きたい方は、Browse For Folderをクリックして位置を変更してください。
フォルダの作成場所を決めたらNextをクリックします。
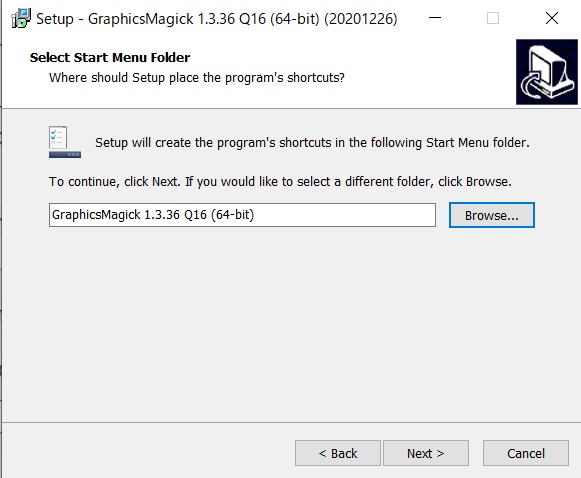
続いて、Select Start Menu Folder(スタートメニューフォルダー)の作成をします。
フォルダの位置が問題なければ、Nextをクリックします。
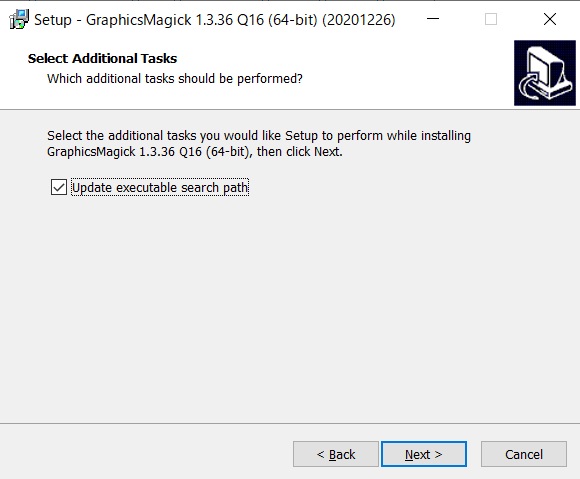
続いて、Select Additional Tasks画面が表示されます。
Update executable search pathにチェックを入れることで、環境変数にPATHを追加してくれます。
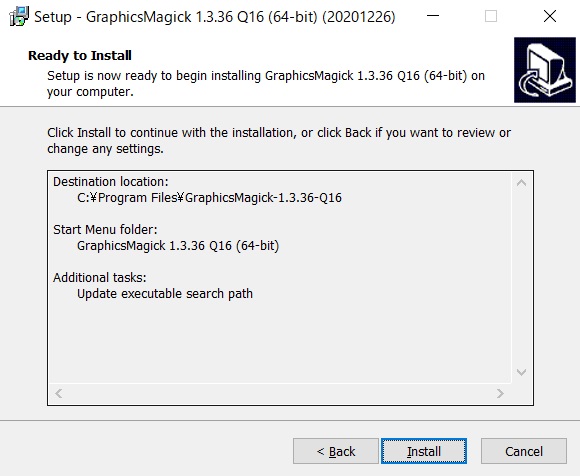
以上で、インストール準備が整ったので、Installをクリックします。
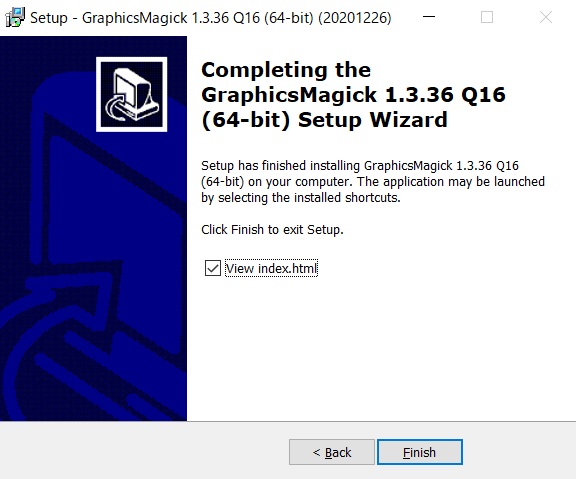
Completing the GraphicsMagick 〇〇 Setup Wizardの画面が表示されれば、正しくインストールが完了しました。
Finishをクリックして、GraphicsMagickのインストール作業が終了です。